Image 1 of 1: ‘An image of the Raspberry Pi Imager software intro screen’

The Raspberry Pi Imager
Image 1 of 1: ‘An image of the RPi Imager software screen for selecting an image to be written to the SD card’
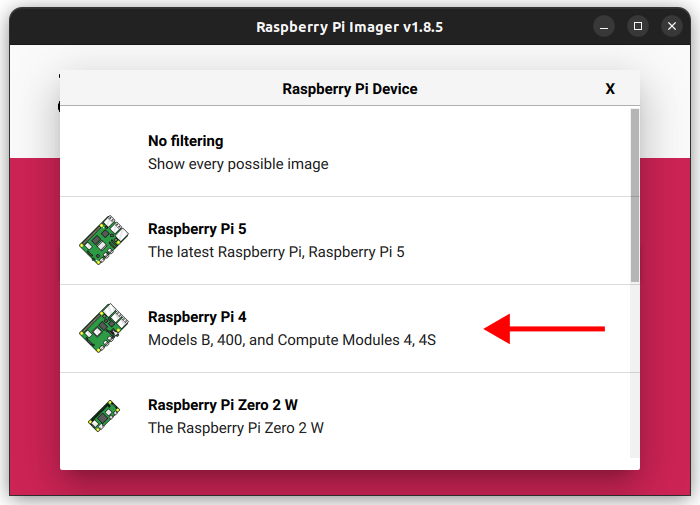
Selecting an image to write to the SD card
Image 1 of 1: ‘An image of the RPi Imager software screen for selecting the device to be written to’
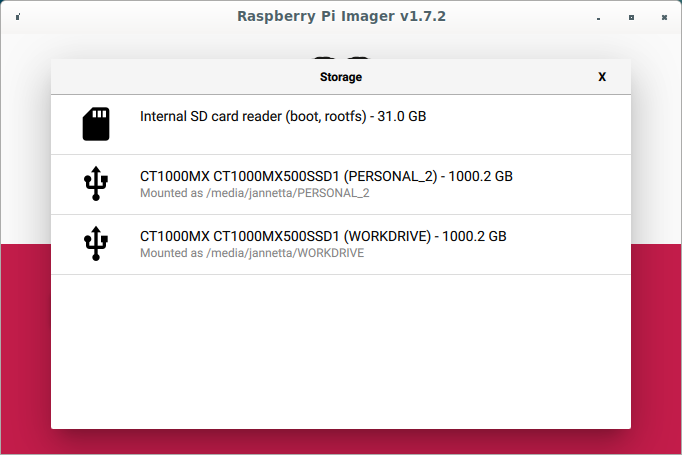
Select a device to write the image to
Image 1 of 1: ‘An image of the RPi Imager software screen for confirming to overwrite the SD card’
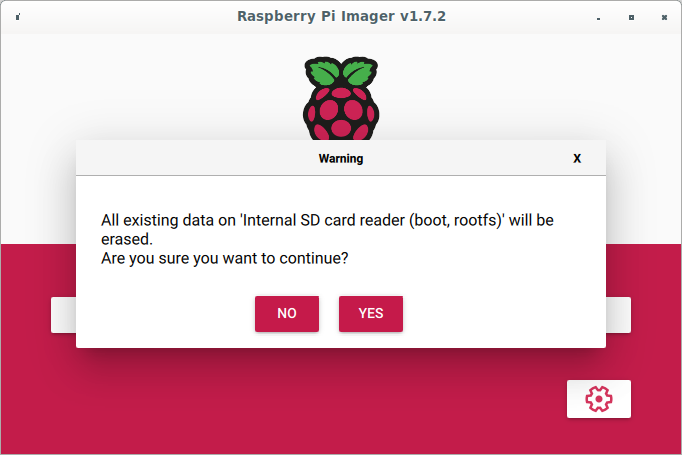
Prompt to overwrite the SD card
Image 1 of 1: ‘An image of the RPi Imager software screen while writing the image to the SD card’
The image will now be written to the SD card. 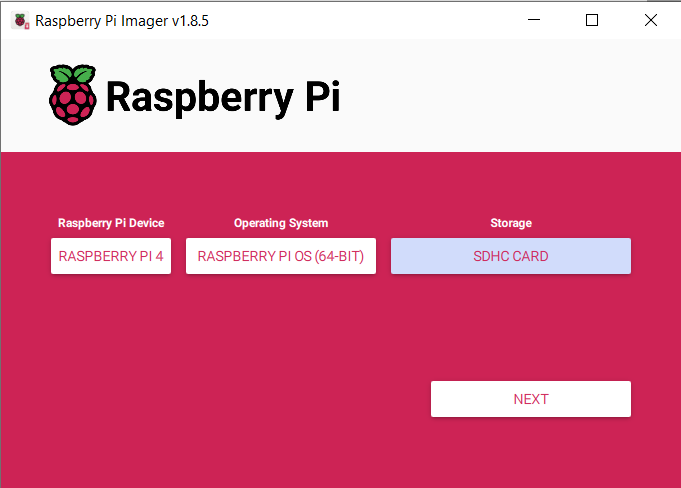
Image 1 of 1: ‘An image of the RPi Imager software screen after the image has been written succesfully.’
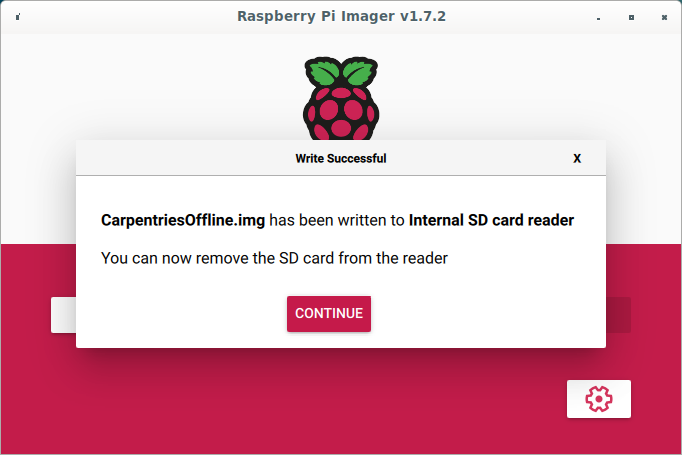
Write Successful