 RPi Image
FlashDrive
mini HPC
Resources
RPi Image
FlashDrive
mini HPC
Resources
This is a step by step guide on how to set up a miniHPC using Raspberry Pis.
TODO From https://github.com/carpentriesoffline/CarpentriesOffline.github.io/blob/main/rpiimage_step_by_step.md
The official Set up your SD card is up to date as of 2nd of May 2024.
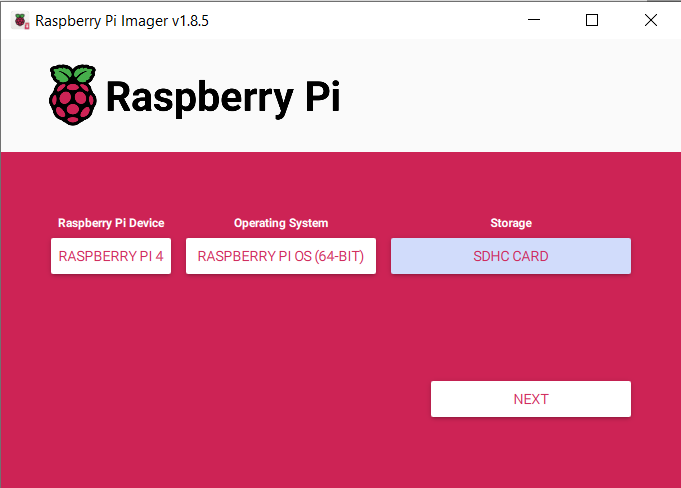
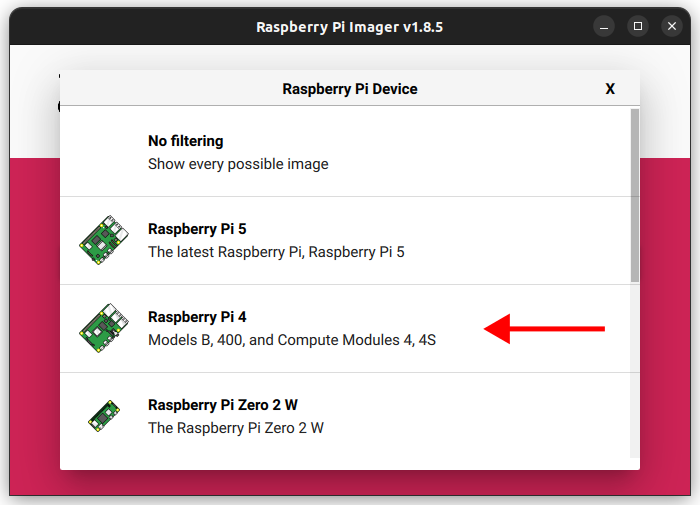
When using the The Raspberry Pi Imager, select the Device and OS.
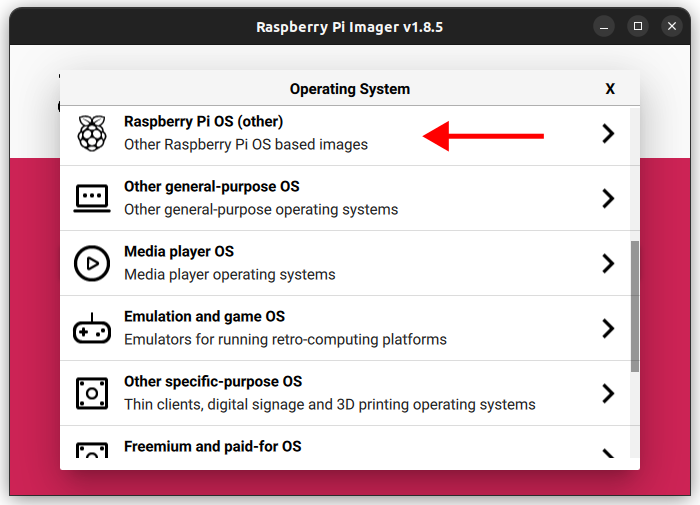
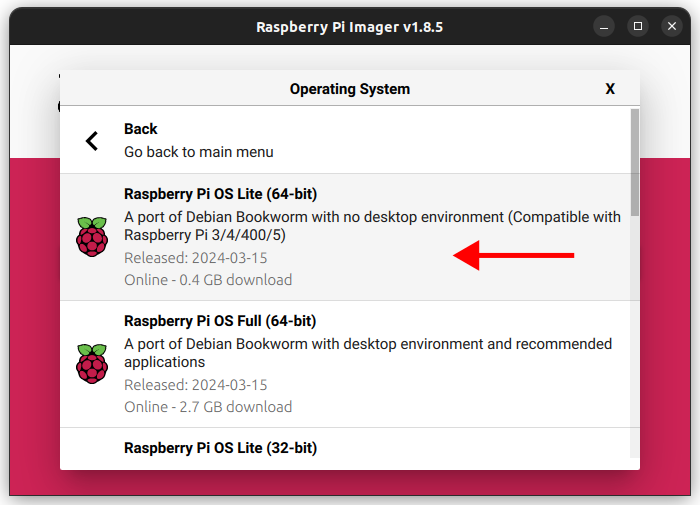
The OS selection should be Raspberry Pi OS (other) -> Raspberry Pi OS Lite (64-bit).
Selecting the device:
Selecting the OS:
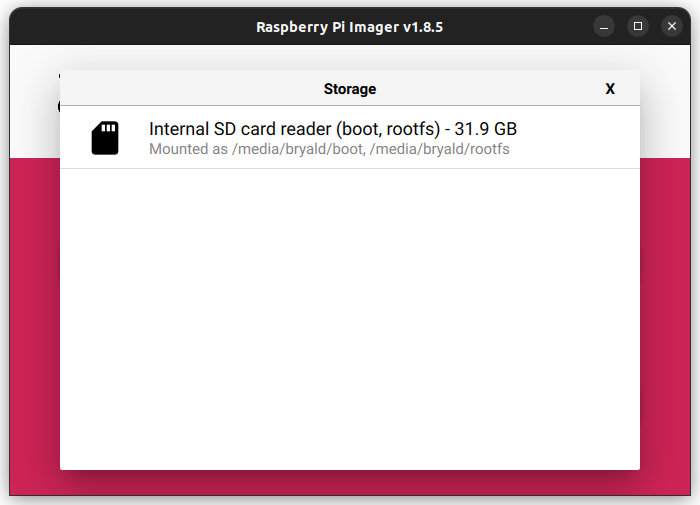
After this, please select the sdcard you would like to flash the image on, Then press NEXT.
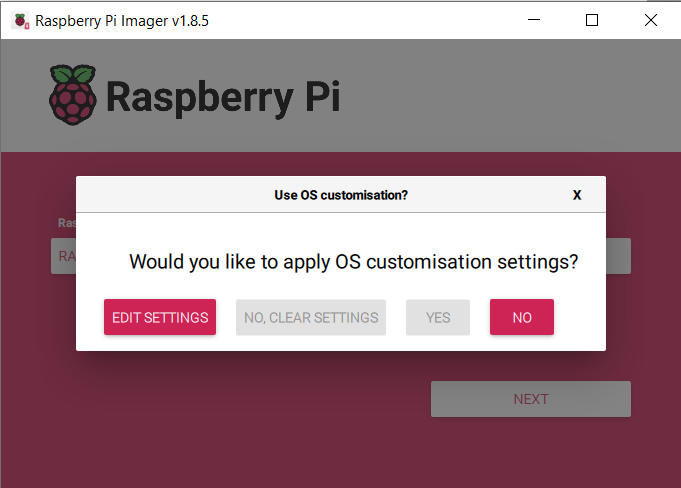
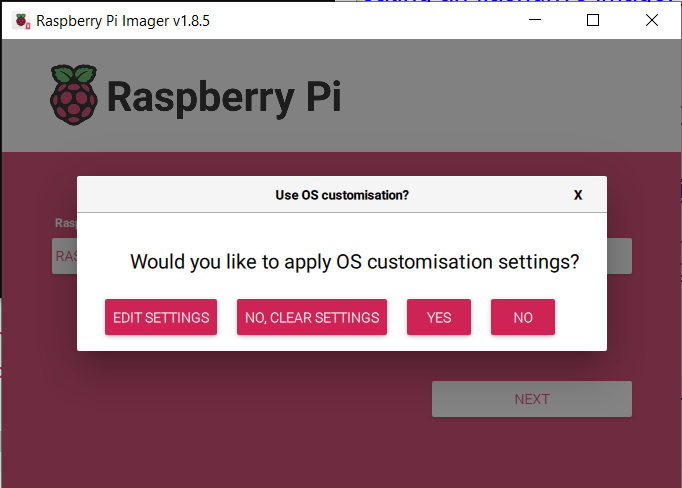
it will ask if the user wants to do any customisation, select EDIT SETTINGS.
This will show a pop-up window where the following configuration options can be defined for your set-up (below are examples) such that your OS is pre-configured upon first boot.
CW24miniHPCcw24*****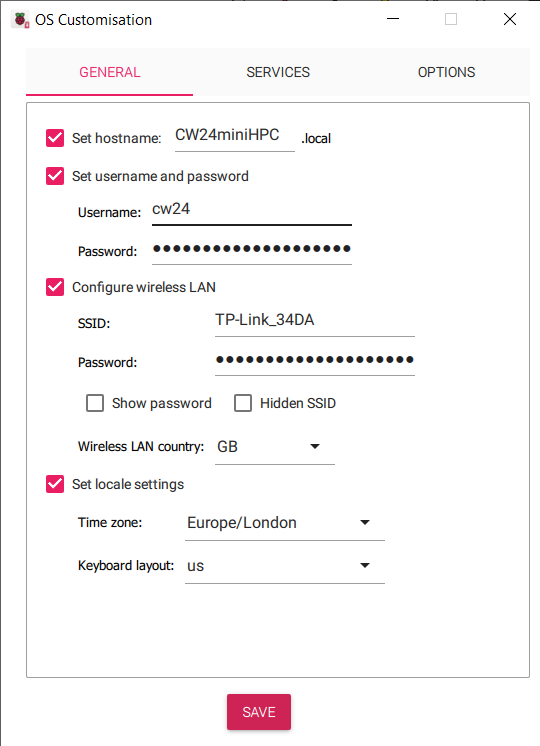
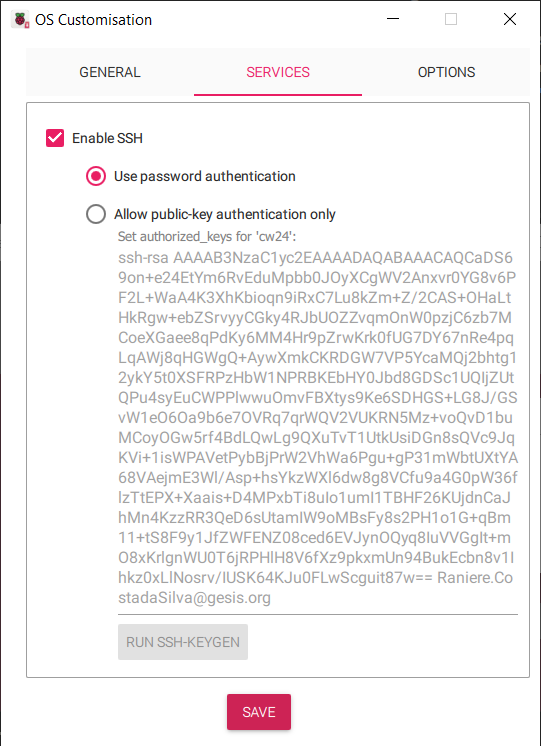
Then go to the SERVICES tab and enable SSH with password authentication (alternatively, adding a ssh public key). If you would like to set up easy access to the Pi via an ssh key, please see here.
TODO: Section on generating an ssh key-pair.
After, saving this, select YES to apply the configuration.
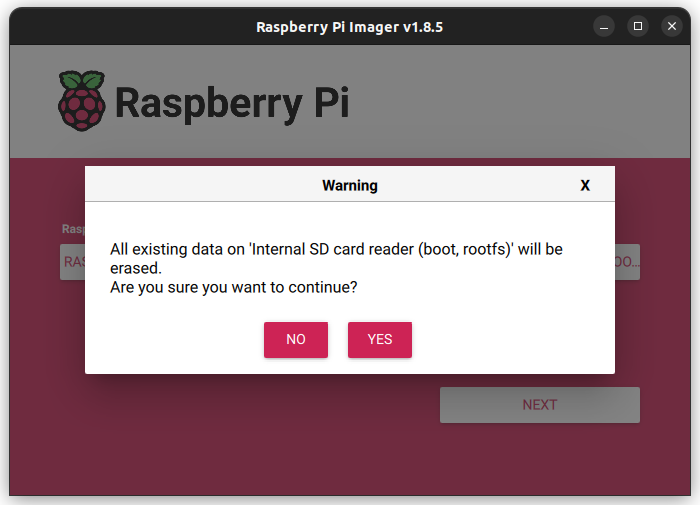
Confim writing to the sdcard (please backup any data on the sdcard, any existing data will be LOST!)
ssh <USERNAME>@<IP-ADDRESS>
In this example, the username would be cw24
sudo apt update
sudo apt full-upgrade
sudo apt install -y nfs-kernel-server lmod ansible slurm munge nmap \
nfs-common net-tools build-essential htop net-tools screen vim python3-pip \
dnsmasq slurm-wlm
Place the following into /etc/network/interfaces
auto eth0
allow-hotplug eth0
iface eth0 inet static
  address 192.168.5.101
  netmask 255.255.255.0
source /etc/network/interfaces.d/*
echo pixie001 | sudo tee /etc/hostname
/etc/dhcpd.confinterface eth0
static ip_address=192.168.5.101/24
static routers=192.168.5.101
static domain_name_servers=192.168.5.101
/etc/dnsmasq.confinterface=eth0
bind-dynamic
domain-needed
bogus-priv
dhcp-range=192.168.5.102,192.168.5.200,255.255.255.0,12h
sudo mkdir /sharedfs
sudo chown nobody:nogroup -R /sharedfs
sudo chmod 777 -R /sharedfs
/etc/exports/sharedfs 192.168.5.0/24(rw,sync,no_root_squash,no_subtree_check)
/etc/hosts file should contain the following. Make sure to change all occurences of pixie in the script to the name of your cluster:127.0.0.1 localhost
::1 localhost ip6-localhost ip6-loopback
ff02::1 ip6-allnodes
ff02::2 ip6-allrouters
# This login node's hostname
127.0.1.1 pixie001
# IP and hostname of compute nodes
192.168.5.102 pixie002
Add the following to /etc/slurm/slurm.conf. Change all occurences of pixie in this script to the name of your cluster.
SlurmctldHost=pixie001(192.168.5.101)
MpiDefault=none
ProctrackType=proctrack/cgroup
#ProctrackType=proctrack/linuxproc
ReturnToService=1
SlurmctldPidFile=/run/slurmctld.pid
SlurmctldPort=6817
SlurmdPidFile=/run/slurmd.pid
SlurmdPort=6818
SlurmdSpoolDir=/var/lib/slurm/slurmd
SlurmUser=slurm
StateSaveLocation=/var/lib/slurm/slurmctld
SwitchType=switch/none
TaskPlugin=task/affinity
InactiveLimit=0
KillWait=30
MinJobAge=300
SlurmctldTimeout=120
SlurmdTimeout=300
Waittime=0
SchedulerType=sched/backfill
SelectType=select/cons_res
SelectTypeParameters=CR_Core
AccountingStorageType=accounting_storage/none
# AccountingStoreJobComment=YES
AccountingStoreFlags=job_comment
ClusterName=pixie
JobCompType=jobcomp/none
JobAcctGatherFrequency=30
JobAcctGatherType=jobacct_gather/none
SlurmctldDebug=info
SlurmctldLogFile=/var/log/slurm/slurmctld.log
SlurmdDebug=info
SlurmdLogFile=/var/log/slurm/slurmd.log
PartitionName=pixiecluster Nodes=pixie[002-002] Default=YES MaxTime=INFINITE State=UP
RebootProgram=/etc/slurm/slurmreboot.sh
NodeName=pixie001 NodeAddr=192.168.5.101 CPUs=4 State=IDLE
NodeName=pixie002 NodeAddr=192.168.5.102 CPUs=4 State=IDLE
sudo systemctl restart slurmctld
mkdir essi
cd essi
wget https://raw.githubusercontent.com/EESSI/eessi-demo/main/scripts/install_cvmfs_eessi.sh
sudo bash ./install_cvmfs_eessi.sh
echo "source /cvmfs/software.eessi.io/versions/2023.06/init/bash" | sudo tee -a /etc/profile
Flash another SD card for a Raspberry Pi. Boot it up with internet access and run the following:
sudo apt-get install -y slurmd slurm-client munge vim ntp ntpdate
dd if=/dev/mmcblk0 of=node.img
Copy node.img to the master Raspberry Pi’s home directory.
Setup PXE booting
Download the pxe-boot scripts:
git clone https://github.com/carpentriesoffline/pxe-boot.git
cd pxe-boot
./pxe-install
Initalise a PXE node:
./pxe-add <serial number> node.img <IP address> <node name> <mac address>
for example:
./pxe-add fa917c3a node.img 192.168.5.105 pixie002 dc:a6:32:af:83:d0
This will create an entry with the serial number in /pxe-boot and /pxe-root.
cp /etc/slurm/slurm.conf /pxe-root/*/etc/slurm/
PARTITION     AVAIL  TIMELIMIT  NODES  STATE NODELIST
pixiecluster*    up   infinite      5   idle pixie[002-006]